How to Apply Table Top Epoxy Resin for Professional Results
Applying table top epoxy resin is a transformative process that can elevate the appearance and durability of furniture surfaces. Whether you're refurbishing an old table or creating a custom piece from scratch, mastering the application of tabletop epoxy resin is essential for achieving professional results. With the right tools, materials, and techniques, you can create stunning, glass-like finishes that enhance the beauty of your furniture while providing long-lasting protection.
Here is How to Apply Table Top Epoxy Resin for Professional Results
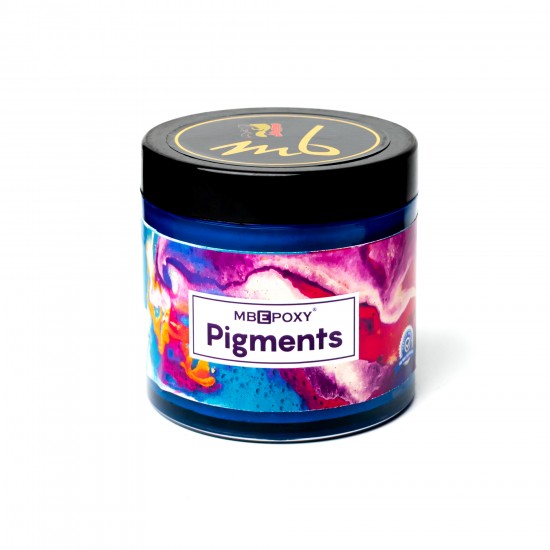
Before you begin, ensure that you have all the necessary supplies on hand, including table top epoxy resin, epoxy pigment or dye for coloration, mixing containers, stirring sticks, a heat gun or torch for removing air bubbles, and protective gear such as gloves and goggles.
First, prepare the surface of your table by sanding it thoroughly to remove any existing finish and create a smooth, even surface. Clean the surface with a mild detergent and allow it to dry completely before proceeding.
Next, mix the table top epoxy resin according to the manufacturer's instructions. Be sure to measure the resin and hardener accurately to achieve the proper ratio for curing. Depending on your design preferences, you can add epoxy pigment or dye to the resin mixture to create custom colors or effects. Popular choices include epoxy marble or metallic finishes, which can mimic the look of natural stone or add a touch of glamour to your tabletop.
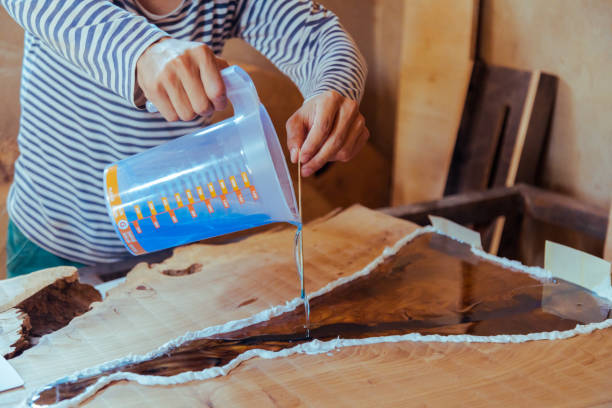
Once the resin is mixed, pour it evenly onto the prepared surface of the table. Use a spreader or brush to distribute the resin evenly, ensuring full coverage and a uniform thickness. Take care to work quickly but methodically to avoid drips or uneven application.
After pouring the resin, use a heat gun or torch to remove any air bubbles that may have formed during the mixing and pouring process. Hold the heat source a few inches above the surface of the resin and move it in a circular motion to gently heat the surface and release trapped air bubbles.
Allow the table top epoxy resin to cure according to the manufacturer's instructions. This typically involves letting it dry for several hours or overnight in a dust-free environment. Avoid touching or disturbing the surface while it cures to prevent imperfections from forming.
Once the resin has fully cured, inspect the surface for any flaws or imperfections. If necessary, you can sand the surface lightly and apply an additional coat of epoxy resin for added durability and shine.

Applying tabletop epoxy resin requires careful preparation, attention to detail, and patience. By following the article on How to Apply Table Top Epoxy Resin for Professional Results and using high-quality materials from reputable resin manufacturers like MB Enterprises, you can achieve professional results that enhance the beauty and longevity of your furniture. Experiment with different colors, effects, and techniques to create custom tabletops that reflect your personal style and creativity. Unlock the potential of tabletop epoxy resin with MB Enterprises and take your furniture to the next level.


Comments
Post a Comment