Epoxy Resin Art Supplies for Jewellery Making
Epoxy resin art has taken the world by storm, captivating artists and DIY enthusiasts alike. Among its many applications, jewelry making stands out as a favorite for its ability to create unique, stunning pieces. Whether you're a seasoned artist or a beginner, understanding the essentials of epoxy resin art supplies is key to crafting beautiful resin jewelry.
Essential Epoxy Resin Art Supplies for Jewellery Making
Creating exquisite resin jewelry begins with gathering the right epoxy resin art supplies. Here’s a breakdown of what you’ll need:
Epoxy Resin

This is the star of the show. High-quality epoxy resin is clear, durable, and UV-resistant, ensuring your jewelry remains vibrant and strong over time. When selecting resin, choose one specifically formulated for art projects to avoid issues like yellowing.
Epoxy Hardener

Paired with the resin, the epoxy hardener is crucial for the curing process. The hardener and resin must be mixed in the correct ratio, usually provided by the manufacturer, to achieve a solid, glass-like finish.
Epoxy Pigment
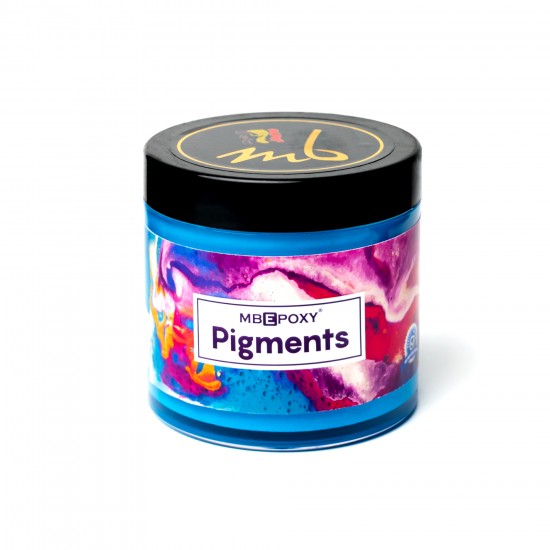
To add color and flair to your jewelry, epoxy pigment is a must. These pigments come in various forms, such as powders, pastes, or liquid dyes, and offer a wide range of colors to experiment with. From vibrant hues to subtle pastels, pigments help personalize your creations.
Molds
Jewelry molds come in various shapes and sizes, allowing for endless creativity. Silicone molds are particularly popular as they are flexible and non-stick, making it easy to release the cured resin pieces.
Mixing Tools
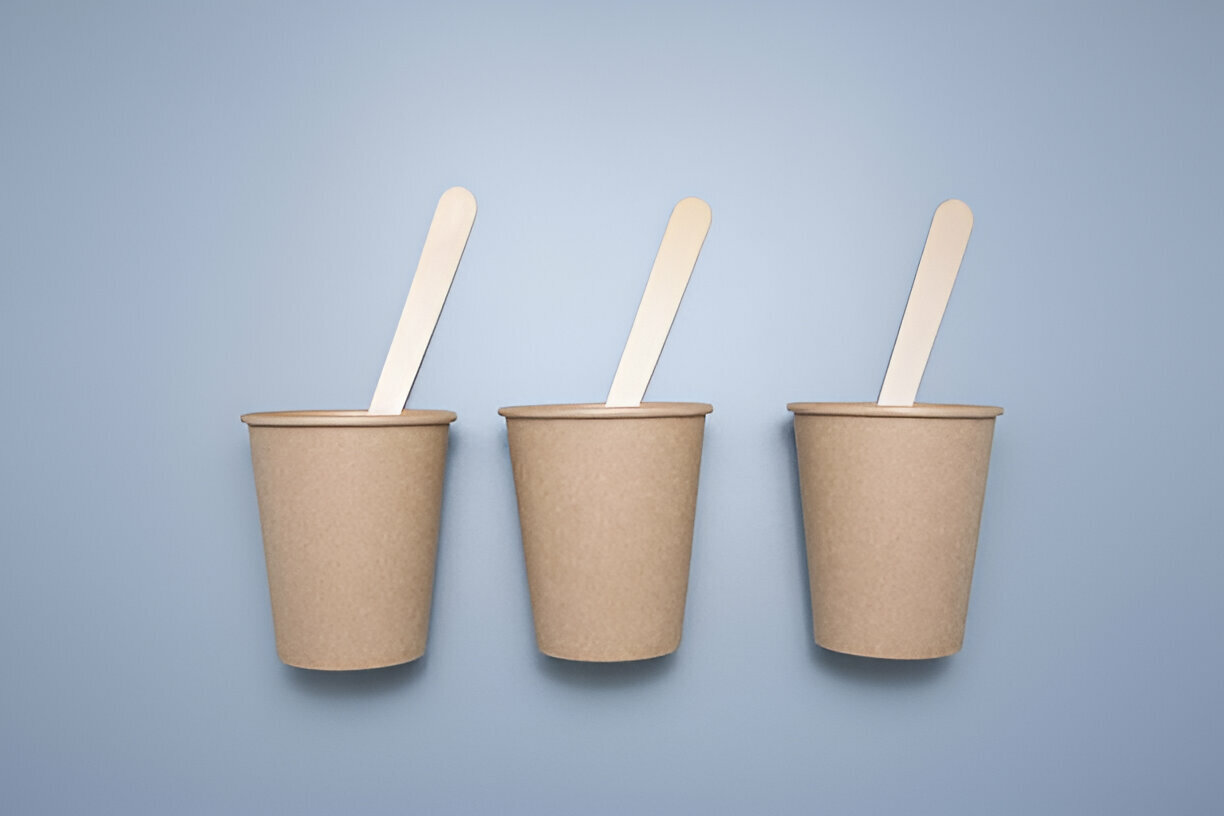
Accurate mixing is essential for the best results. Use disposable cups and stir sticks to combine the resin and hardener. For adding pigments, smaller tools like toothpicks or craft sticks work well.
Steps to Create Resin Jewellery
Prepare Your Workspace: Ensure your workspace is clean, well-ventilated, and covered with a protective sheet. Gather all your epoxy resin art supplies within reach.
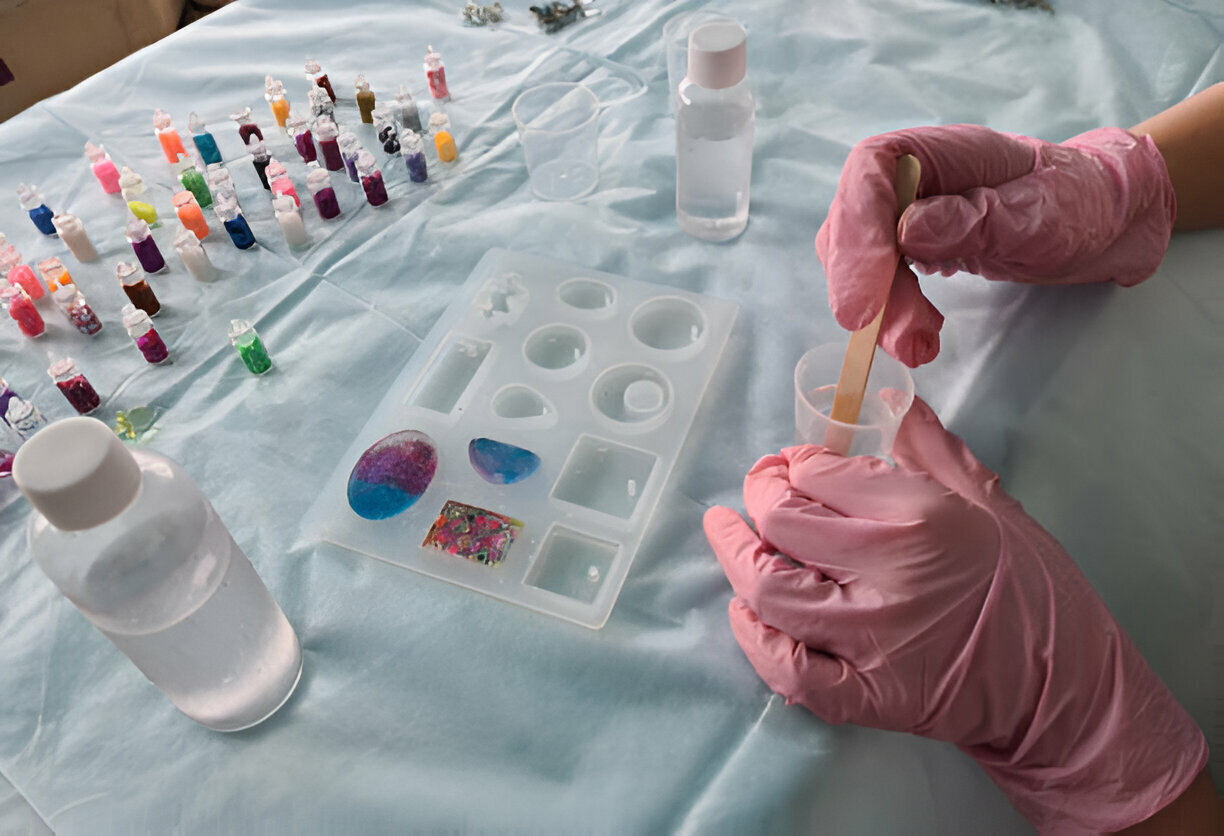
Mix the Resin and Hardener: Following the manufacturer’s instructions, measure and mix the epoxy resin and epoxy hardener in the recommended ratio. Stir slowly to avoid bubbles.
Add Epoxy Pigment: Once the resin and hardener are thoroughly mixed, add your chosen epoxy pigment. Mix until the color is evenly distributed.
Pour into Molds: Carefully pour the colored resin mixture into your jewelry molds. Use a toothpick to pop any bubbles that rise to the surface.
Cure the Resin: Allow the resin to cure according to the manufacturer’s instructions. This usually takes 24-48 hours. Ensure the molds remain undisturbed during this period.
Demold and Finish: Once cured, gently remove the resin pieces from the molds. Sand any rough edges and add findings like earring hooks or necklace chains to complete your jewelry.
Choosing Quality Resin Manufacturers

Selecting high-quality supplies from reputable resin manufacturers is crucial for achieving professional results. Look for manufacturers known for their consistent quality and customer satisfaction. High-quality resins and pigments from trusted brands ensure your jewelry is durable, clear, and vibrant.
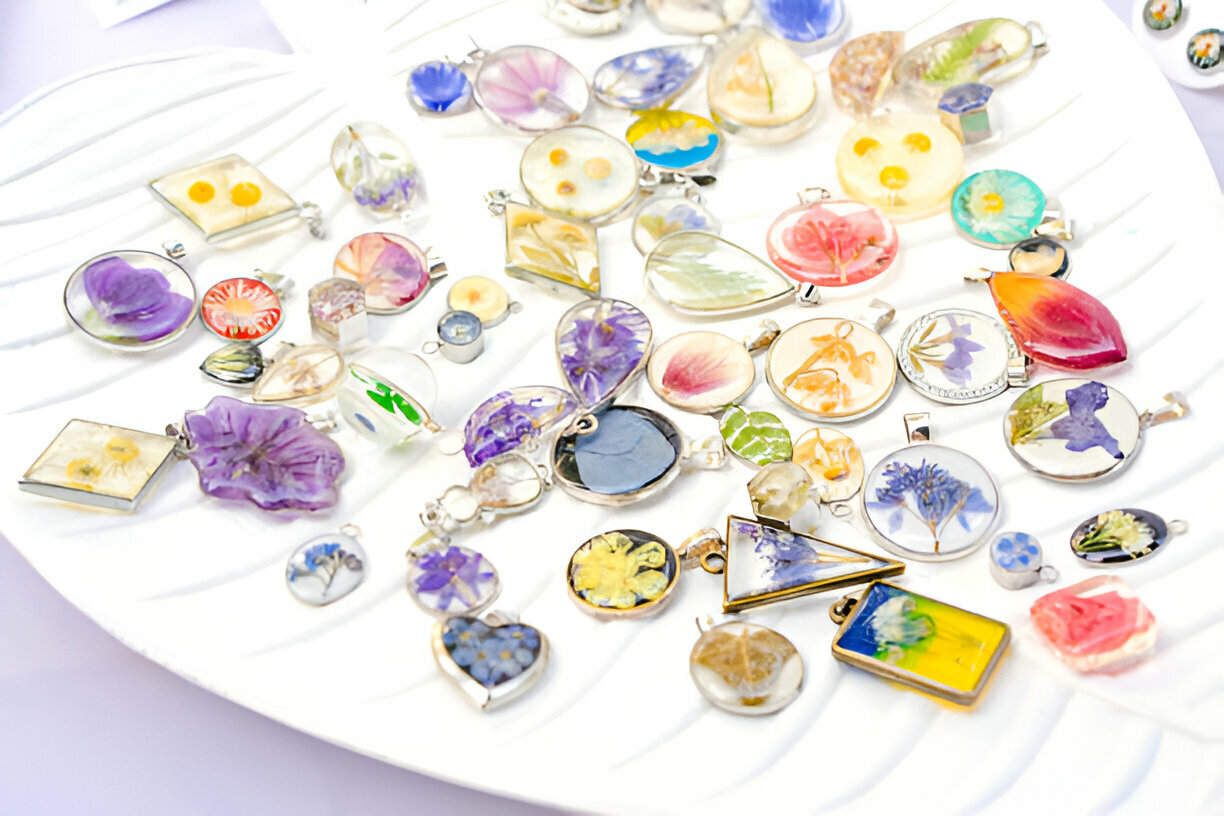
Creating beautiful resin jewelry is an enjoyable and rewarding craft, especially when equipped with the right epoxy resin art supplies. From the epoxy resin and epoxy hardener to the colorful epoxy pigment and molds, each component plays a vital role in the process. As you embark on your jewelry-making journey, remember that patience and practice are key to mastering this art form. For top-notch supplies, consider trusted brands like MB Enterprises to ensure your creations are nothing short of stunning.
With these insights and tips, you're well on your way to crafting unique, eye-catching resin jewelry that showcases your artistic flair. Happy crafting!


Comments
Post a Comment